Video walkthrough
Installation
The steps in this section apply whether this is a new installation of DeliverPoint or an upgrade to a newer version.
You must be logged on to a SharePoint Server, preferably the server where the SharePoint Central Administration website is hosted, as a SharePoint farm administrator. Also, confirm you have local administrator rights on the SharePoint Server to install DeliverPoint.
To install or upgrade/repair DeliverPoint, complete the following steps:
DO NOT Install or uninstall DeliverPoint during production hours, as both activities initiate an IISRESET.
DO NOT Run the DeliverPoint MSI on every SharePoint Server; the files are automatically distributed to each server via a SharePoint solution deployment.
DO NOT Attempt an install of DeliverPoint after an uninstall has failed; see the document Manual Uninstall Steps.
DO NOT Attempt to install DeliverPoint on a server which does not have SharePoint configured.
- Download the latest version of DeliverPoint for SharePoint Server from our website's Download Center.
- Unzip the file to a suitable location on a SharePoint server.
- Execute DeliverPoint.msi, which can be found in the root of the zip file.
The DeliverPoint installation wizard is launched and displays the Welcome step.
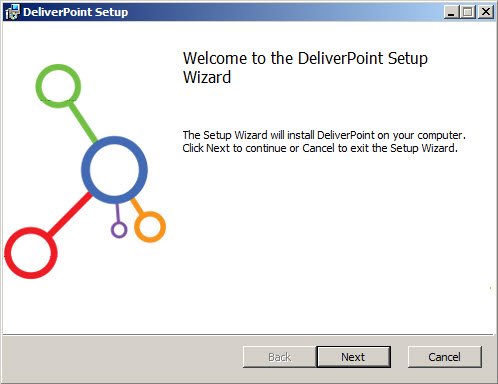
- Click Next.
If you have previously installed this same version of DeliverPoint, the screen below will display:

However, if you are upgrading, you should not see the above screen, so you can continue on.
- Select the I accept check box to agree to the License Agreement

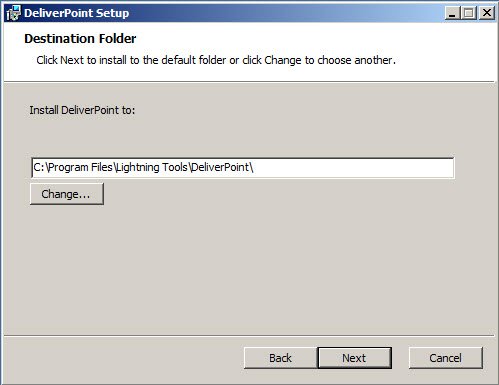
- Click Next to display the Destination Folder step.
If you do not want the DeliverPoint binaries to be deployed in the default location of c:\Program Files\Lightning Tools\DeliverPoint\, click Change, select a folder where you want the binaries to be deployed, and then click OK to close the Change destination folder dialog box.
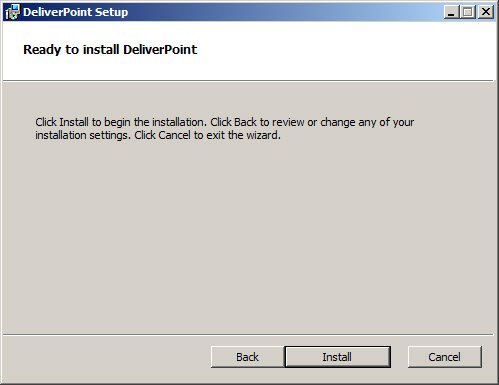
- Click Next to display the Ready to install DeliverPoint step.
- Click Install. If the User Account Control dialog box is displayed, click Yes.
The DeliverPoint wizard displays the progress of the installation, and when it is finished the Completed the DeliverPoint Setup Wizard step is displayed.
- Click Finish. NOTE: Whether this is a new installation or an upgrade, you will need to proceed to the Configuration Wizard steps below.
Configuration Wizard
The DeliverPoint Configuration Wizard provides a user interface that presents information on how to configure the installation, as well as obtain information from you about the pending installation process. Ensure you read each screen carefully before clicking Next to move to the next screen. The Configuration Wizard deploys the WSP package to the farm, sets up the DeliverPoint SQL database, and in the case of an upgrade, performs other upgrade-related tasks
You must be logged on to the SharePoint Server where you installed the DeliverPoint binaries, as a SharePoint farm administrator.
Prerequisites
- Install the DeliverPoint files, as described above.
- Create an Active Directory (AD) username for the DeliverPoint service account, and ensure that it is NOT disabled in AD. This account should have Read permission to Active Directory.
- Inform your database administrator (DBA) that the DeliverPoint configuration wizard will create a new database (or update the existing database, if you are upgrading). Ensure that the DeliverPoint service account you created in the above point has the dbcreator and securityadmin server roles on the SQL Server where the database is to be created/updated.
- If you are upgrading and wish to keep your existing SQL database, we recommend making a backup, just in case something goes awry during the configuration.
- Confirm the SharePoint Administration (SPAdminV4) service is running successfully on all your Web Front-ends.
- The DeliverPoint service account also requires Read-Write access to the DeliverPointInstall.log file, which is created in the Temp folder for the user ID that you used to install DeliverPoint. The configuration of DeliverPoint will fail if the service account does not have this permission to the Temp folder, which is set by an environmental variable that by default is set to AppData\Local\Temp. Therefore, navigate to the folder set by the TEMP environment variable (e.g. C:\Users\<install account>\AppData\Local folder) and alter the security properties of the Temp folder for the DeliverPoint service account. If there are any errors during the configuration of DeliverPoint you will see them in the DeliverPointInstall.log file. If you have not provided the DeliverPoint service account read-write access to the Temp folder, the error message in the DeliverPointInstall.log file will be similar to:
Running database setup SERVER: sql1.trainsbydave.com; DATABASE DP2013; User: trainsbydave\dpservice Impersonating user System.UnauthorizedAccessException: Access to the path 'C:\Users\brett.DP\AppData\Local\TempDeliverPointInstall.log' is denied.
Run the Configuration Wizard
After you have installed the DeliverPoint binaries as above, and confirmed all of the above prerequisites are in place, start the DeliverPoint Configuration Wizard, which you should be able to find on the Start screen or desktop.
If the User Account Control dialog box is displayed, click Yes.
The first step of the DeliverPoint Configuration Wizard is displayed.
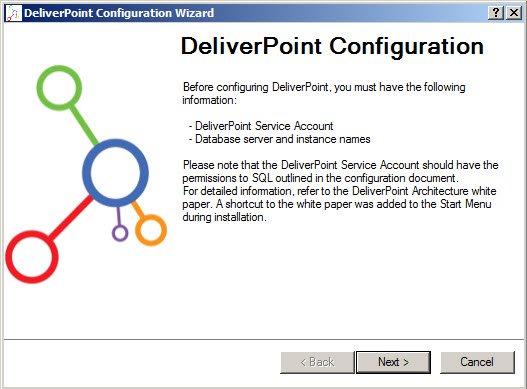
Click Next to display the Impersonation Account step.

In the DB Impersonation User Name text box, type the DeliverPoint service account credentials. Use the DOMAIN\username format to enter the AD account. In the DB Impersonation User Password text box, type the password of the service account.
The configuration wizard checks that you have entered a valid AD account and whether you have previously installed DeliverPoint. If the credentials are not valid, then an Invalid Credentials dialog box is displayed, click OK and then enter valid AD credentials.
If you have previously installed DeliverPoint, a checkbox is displayed which allows you to save the previous settings in the database (for example, scheduled reports, treeview settings, etc):

Click Next.
The Database Configuration step is displayed.
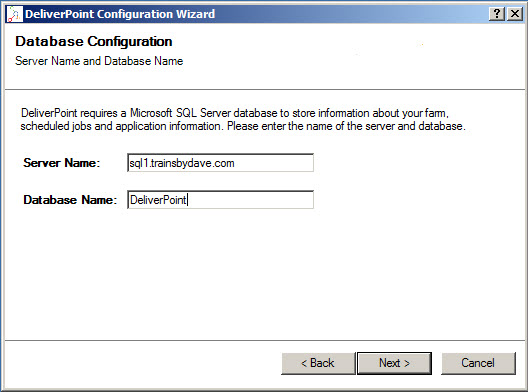
In the Server Name text box, type the name of the server running SQL Server where the DeliverPoint database should be created. In the Database Name text box, type the name you wish to use for the DeliverPoint database. If you are upgrading, be sure to enter the information for your existing DeliverPoint SQL database.
Click Next to display the Configuration Summary step.

The “Compatible With All SharePoint Versions” is relevant for recent upgrades from SharePoint 2010 to 2013, for example, and still have some team sites or pages using the SharePoint 2010 look and feel. DeliverPoint will adhere to both master pages if this option is selected. As of this writing, in 2025, this checkbox is likely irrelevant to you.
Check that the details are correct, and then click Next to complete the installation, which includes the following:
The DeliverPoint database is created. The DeliverPoint SharePoint® farm solution is added and deployed. The DeliverPoint user interface (UI) is activated for each Web Application. The five SharePoint® timer jobs are installed. You will see a progress bar and messages as the deployment proceeds.

This process could take between 5-15 minutes to complete. At some points during the process, you may see a “Not Responding” message in the dialog box, during the times when the Application Pool is recycling. (This is normal.) When complete, the Configuration Complete message is displayed.
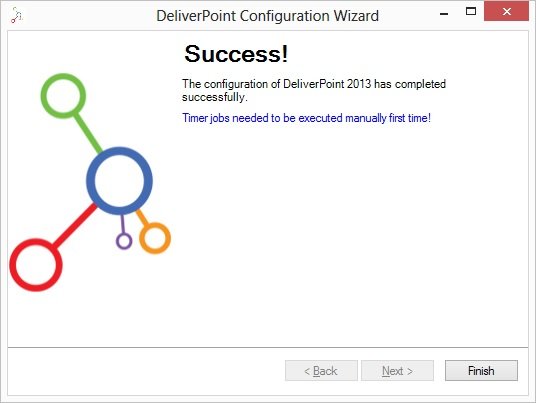
Click Next to display the Success step, and then click Finish.
Crawl SharePoint and Active Directory
As noted on the Success screen above, after completing the Configuration wizard, the SharePoint and Active Directory interrogations must be run. These “crawls” create entries in the tables in the DeliverPoint SQL database for SharePoint content, and for users and groups. This is necessary for building the DeliverPoint treeview and for running certain reports and actions. Please see Commence Full crawl of Active Directory and SharePoint - DeliverPoint 2013 and Add-In - 1.
After the initial installation of DeliverPoint, you must initiate both of the crawls in Full mode. This may take up to several days, depending on the size of your SharePoint farm and user base.
If you are upgrading, and you already have a complete DeliverPoint database after the most recent incremental crawl, then there is no need to run either crawl as part of the upgrade process; you can just allow the incremental crawls to run on their existing schedule.
Modern Lists and Libraries extension
If you will be using SharePoint Server modern lists and libraries in SharePoint 2019 or Subscription Edition, you will also want to install the deliverpoint-modern-extensions.sppkg file found in the download package to an app catalog in each web application where you wish to use the modern DeliverPoint library permission management. This will make the DeliverPoint menu items appear within modern lists and libraries.